Trim The Newel To Length
1. Determine the newel length above the tread. Add 6 1/4" to
the measurement for insertion into the newel mounting sleeve.
Transfer the total measurement to the newel post. If the newel
needs to be trimmed to length, trim from the bottom using metal
cutting chop saw or portable band saw. | | 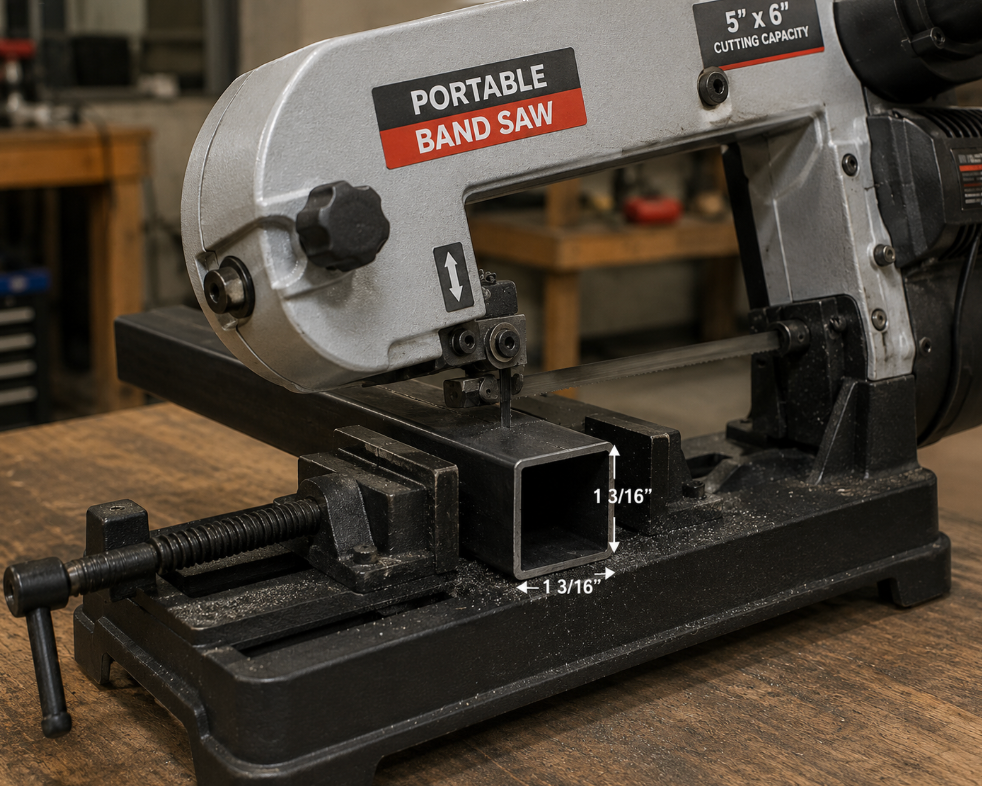 | | | |
 | |
Prepare The Mounting Surface
1. Locate and mark the newel counterpoint on the tread. Outline
a 1-1/2" square centered around the counterpoint (Photo2). Drill
a 1" hole through the tread and any blocking material. Use a jig
saw to cut out the 1-1/2" square outline (Photo 3).Before attaching
the tread, cut blocking material out using a SawZall.
2. Slide the newel mounting sleeve completely down into the hole
until the top rim is flat on the mounting surface and mark the anchoring
screw locations. Remove the sleeve and pretrial the mounting surface
for each screw location. | | 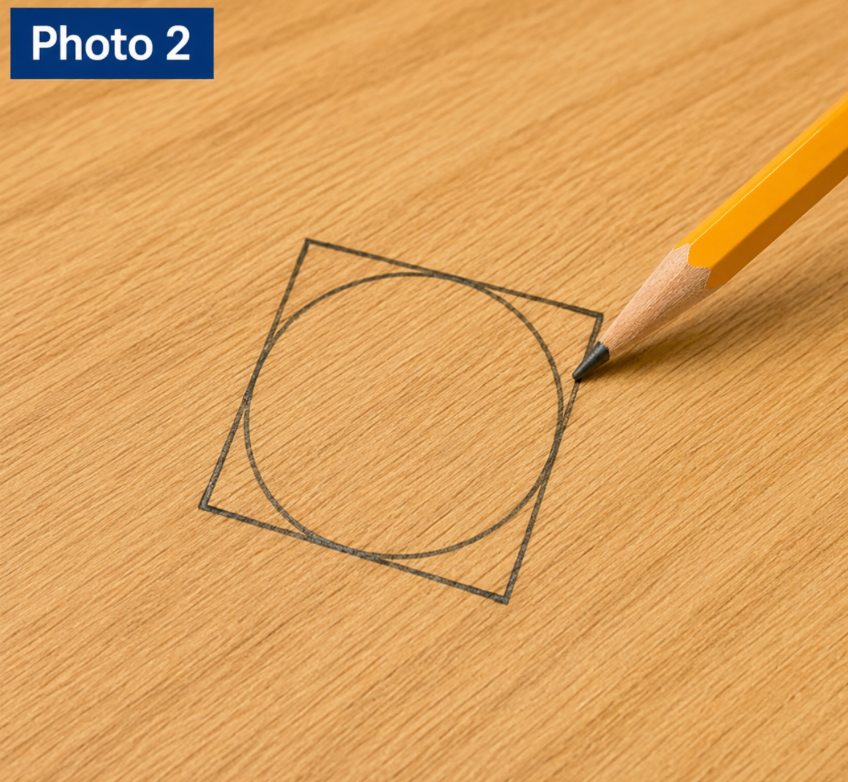 | | 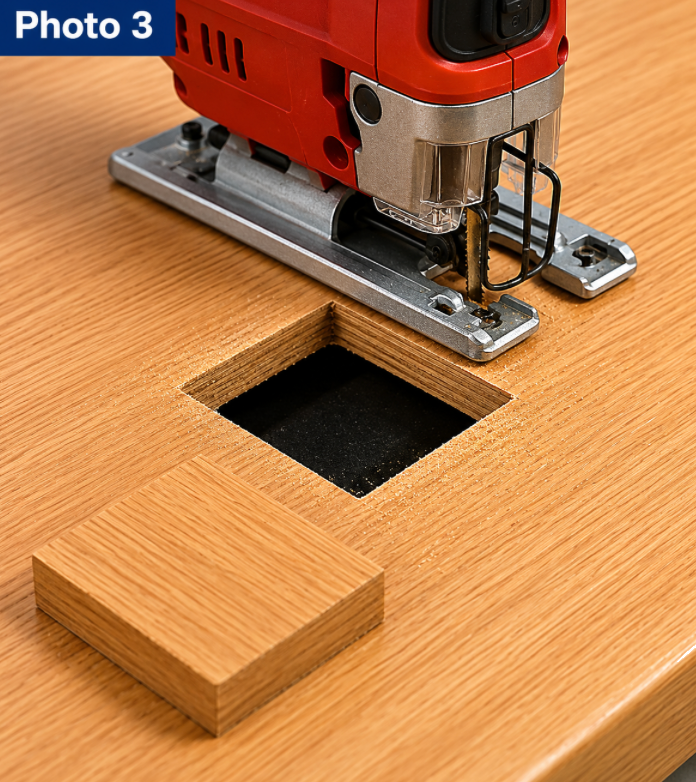 | |
| | | | | |
Secure The Iron Newel Post
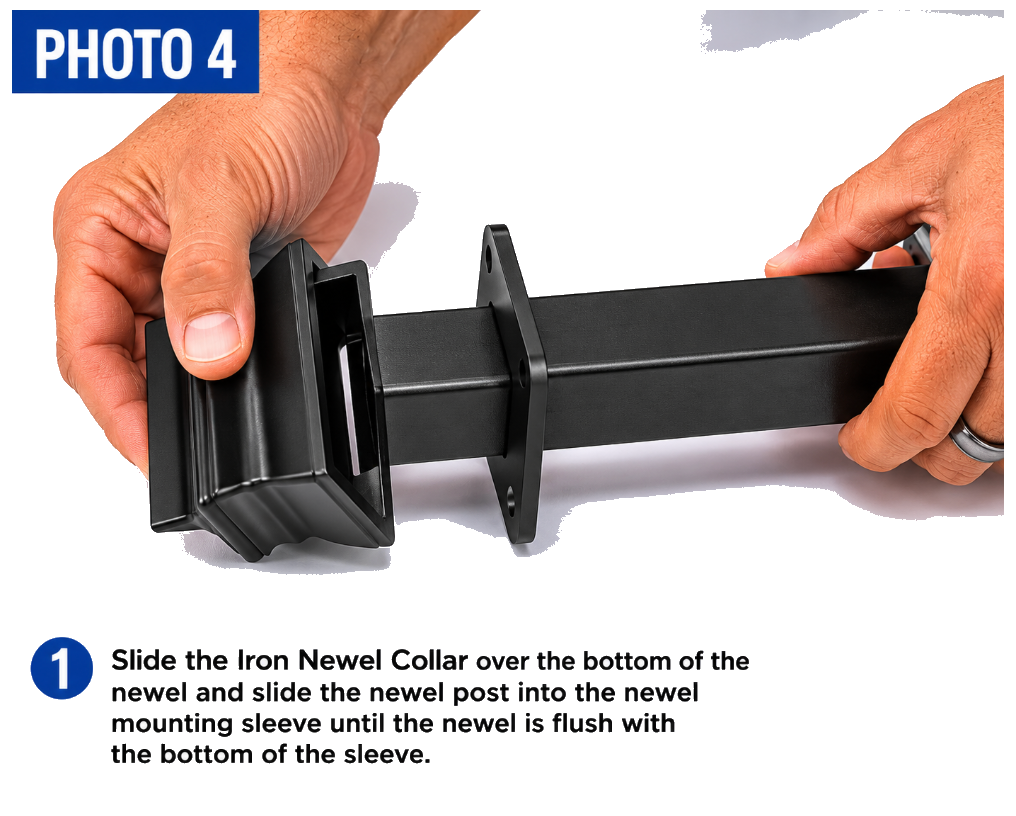
1. Slide the Iron Newel Collar over the bottom of the newel and slide
the newel post into the newel mounting sleeve until the newel is flush
with the bottom of the sleeve (Photo 4).
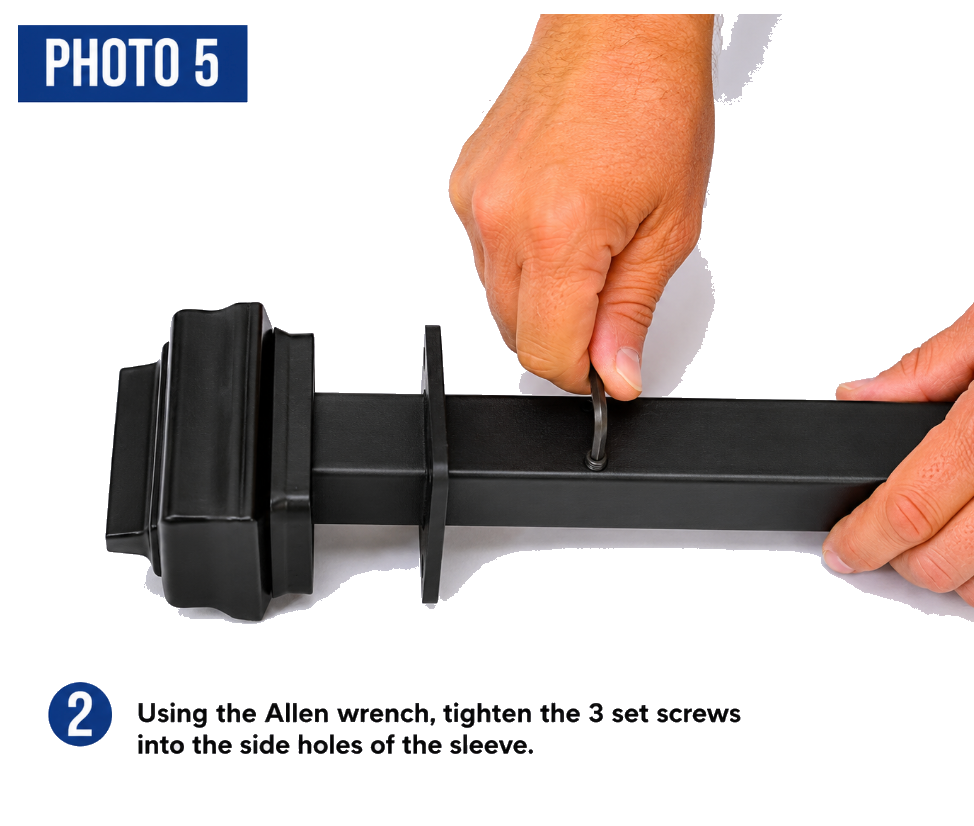
2. Using the Allen wrench, tighten the 3 set screws into the side holes
of the sleeve. (Photo 5)
| |  | |  | |
| | | | | |
3. Slide the sleeve (with newel) completely down into the hole until the
top rim is flat on the mounting surface. (Photo 6).
4. Slide the iron newel collar up and permanently attach the sleeve to
the tread using 3" anchoring screws (Photo 7). | | 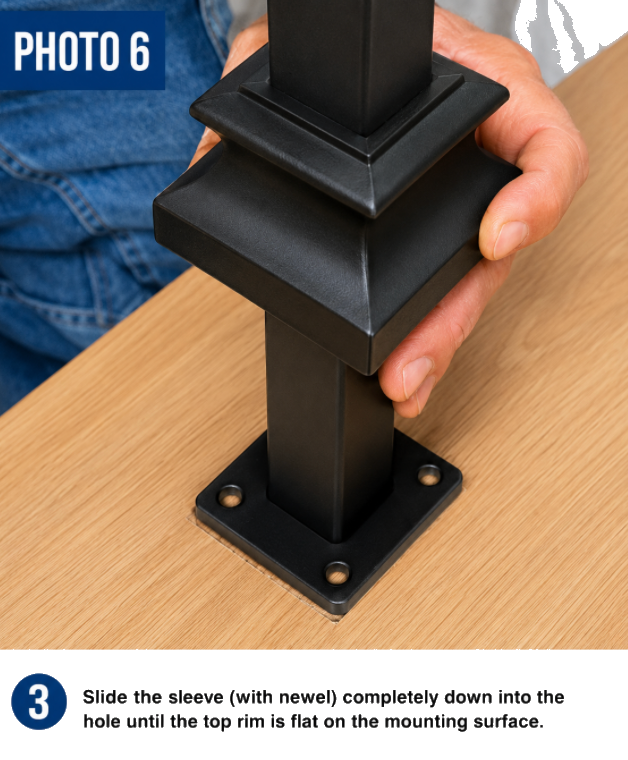 | | 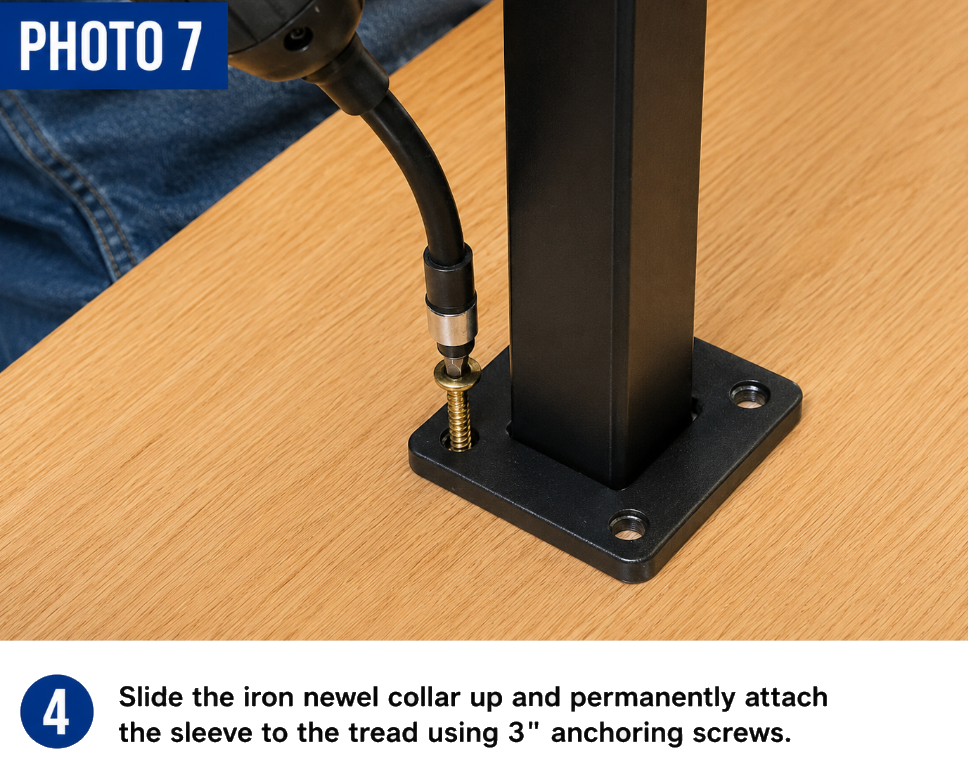 | |
| | | | | |
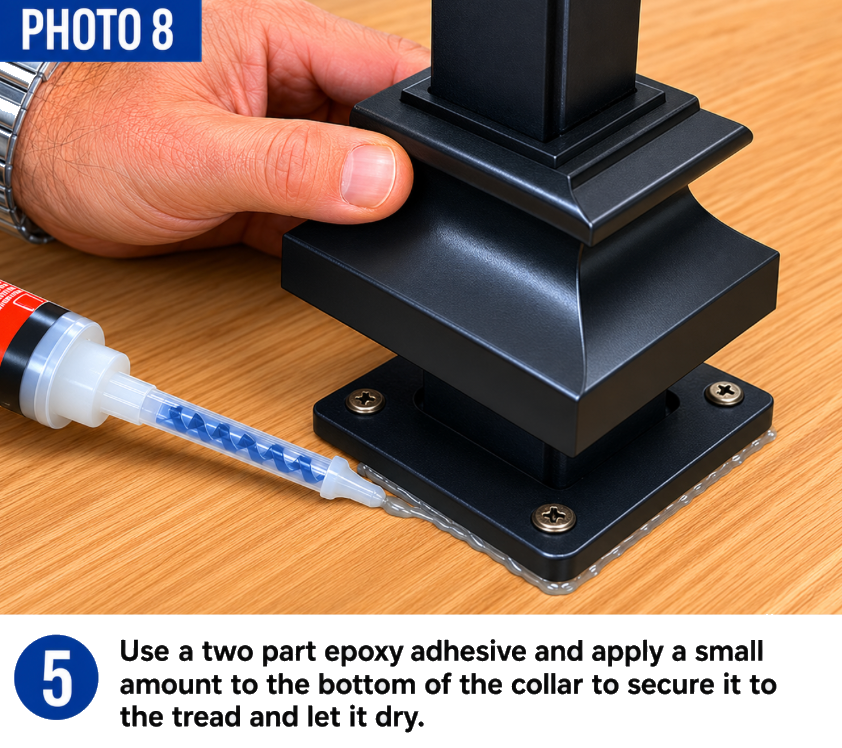
5. Use a two part epoxy adhesive and apply a small amount to the bottom
of the collar to secure it to the tread/floor and let it dry. (Photo8).
| |  | | | |
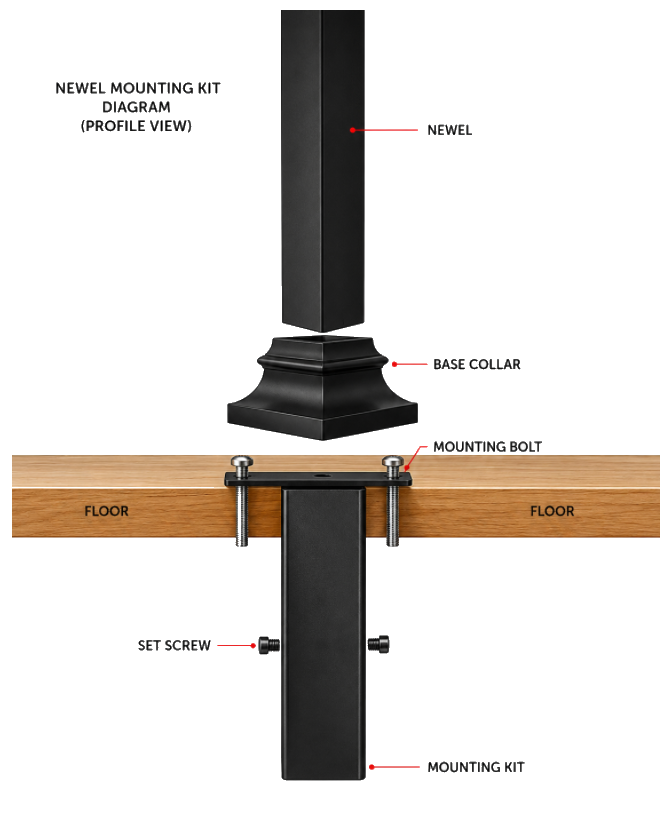
OVERVIEW FULLY ASSEMBLED
 | | | | | |